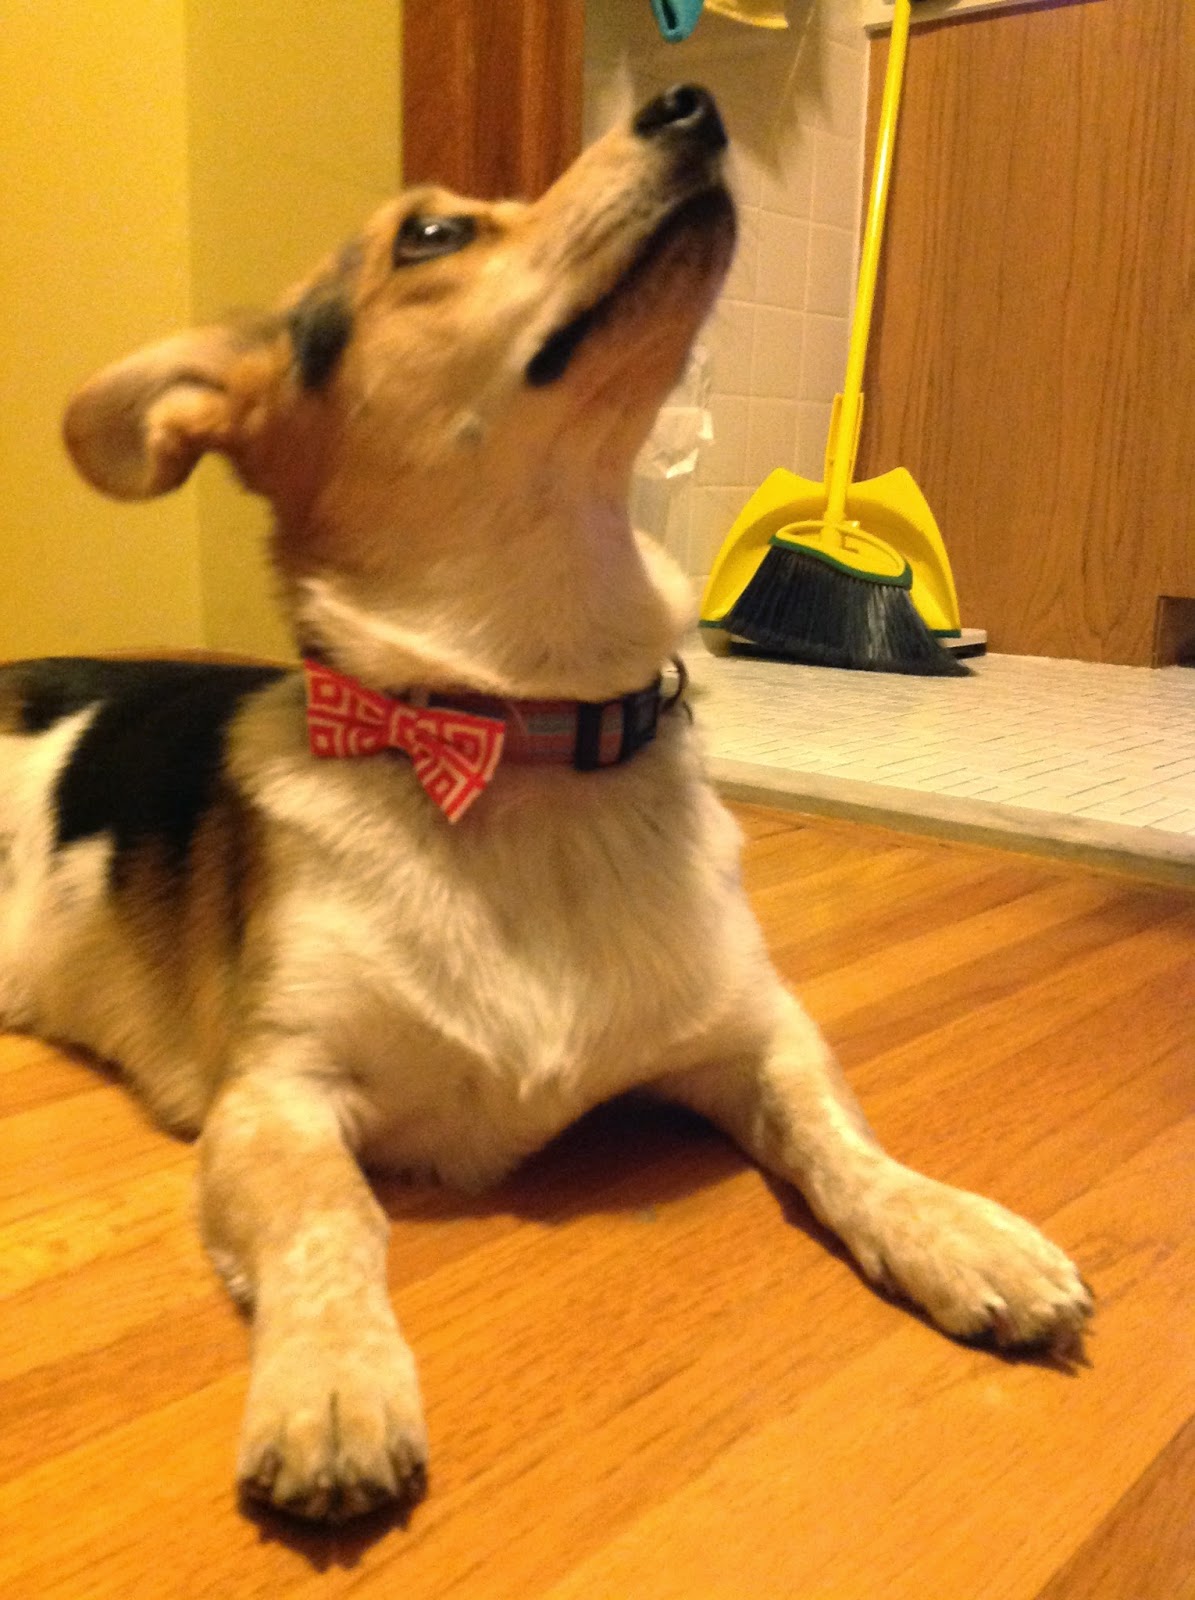
Mr. B isn't a huge fan of pups in clothes, so I figured out a different way to make Fitzgerald look classy and put together all of the time - bow ties. Plus, doesn't a dog with a name like Fitzgerald NEED a bow tie? I think so!
When we first got Fitz, I found a bow tie for him at Target (you know, during one of my "I need milk, and oh, also a bow tie for my puppy" runs). It is completely adorable and was actually pretty reasonable - I think it ran about $4.00. I slipped it on Fitz' collar when I got home and he has been stylin ever since.
After a run in with a mud puddle and some other dogs, the bow tie needed to be washed badly. As I was washing it, I realized that the way it is put together is actually very simple, and I decided to make some myself. Then Fitz could have a bow tie for every occasion! Yay!
Here's how I made Mr. Fitzgerald a very fashion-forward orange bow tie...
Supplies:
Fabric (duck cloth or something a little thicker holds up better, but you can make anything work!)
Measuring Tape
Felt
Elastic
Sewing machine (optional)
Scissors
Needle and thread
Hot glue gun
Start by cutting 2 rectangles of fabric for the main part of the bow tie. I cut mine to 8 inches wide and 4 inches tall, and the smaller one to 2 inches wide by 4 inches tall. These dimensions will give you a bow tie that is about 4 inches wide and 1.5 inches tall. You can increase or decrease the dimensions to result in a larger or smaller bow tie as well! You can set the smaller rectangle to the side, as we will work with that one later on.
Next, fold your piece of fabric in half with the right sides together. Sew a straight line down the edge of the fabric to secure the 2 sides together and make a tube. I used a seam allowance of about 1/4 inch, but it doesn't have to be precise (or even pretty!) You could also do this by hand if you don't have a machine.
Then pull the fabric from one end through the tube to turn it right side out.
That's the base of your bow tie! At this point, you can iron the tube flat to get crisp seams if you want (I'm lazy so I'm skipping that step, but it can help to make the next part a bit easier)
Take your tube and lay it flat on the table. Fold one end in just past the middle point of the tube. Repeat with the other end so that the two ends are overlapping in the middle of the tube by about 1/4 to 1/2 inch. Pin through all layers, and then sew straight down the middle to secure the ends together.
Grab your smaller rectangle and repeat the steps to turn it into a tube, and then turn it right-side out. This piece will be the middle part of your bow tie.
Here's where your bow tie will start to come together!
Cut a small piece of thread, and wrap it around the middle of the bowtie. Pull tight, and then tie another knot so that the tie is gathered in the center.
Take your smaller tube for the center of the bow tie and lay it flat on the table, seam up. Put a large bead of hot glue in the middle and then stick your bow tie piece face down and push hard to secure (make sure you double check that the bow tie is facing the correct way!)
Then take your glue gun and put a large bead of glue in the middle of the back of the bowtie and pull one side of the middle section tightly around the center of the tie and push down to secure. Repeat with the other end of the fabric
Yay! It's a bow tie now!! Feel free to gloat about how awesome it looks to whomever is around.
All that's left is to add the elastic to the back that secures the bow tie to your pup's collar. Start by cutting a small square out of felt. Mine was 3/4 inches square.
Cut a piece of elastic to 2 inches long, and glue one end of it to the piece of felt. Then wrap the elastic around and secure the other side to the felt. (If you made your bowtie bigger or smaller than my dimensions, you may want to adjust the size of the elastic to correspond. It should stretch enough to get around the collar, but not be too loose)
The last step is here! Secure the elastic piece to the back of the bowtie with a nice large blob of hot glue. Make sure that you secure it so that the elastic gets glued between the felt and the fabric. That will help keep it extra tight and secure.
And that's it!!! Here's a picture of Mr. Fitz sporting his:
(Feel free to ignore the horrible composition of that photo, though!)
I hope you enjoyed my first whack at a tutorial. Feel free to leave a comment or feedback about it so that I can continue to make them better as I add more!
- Hope Studios
- The Makers Link Party
- Snap Creativity
- Lamberts Lately


.jpg)
.jpg)


No comments :
Post a Comment