Showing posts with label Home Decor. Show all posts

Duck...Duck...Brass Duck

The title of this post refers to a favorite children's game, but the topic of it is much more adult.  I promise. Well, maybe.  Actually, I can't make any guarantees about the adult-ness of this BLOG, let alone this post.  So read at your own risk. *wink wink*

Can we have a quick conversation about said children's game though?  I remember days of fun in kindergarten where we would sit in circles on the floor for what seemed like hours. It would be a constant circle- walk in circles, tapping heads, saying "Duck," until you reached your friend (or maybe kindergarten crush) and smiled widely as you tapped and said "Grey Duck!" and took off at a sprint to make it around the circle and back into that spot.  Inevitably someone would slip and fall while sprinting or tap someone's head a little too hard, and the game would have to come to an end.  But we always played again!

Now here in the great state of Minnesota, we call this game "Duck, Duck, Grey Duck."  A few years ago, I learned that pretty much everyone else in the US calls it "Duck, Duck, Goose."  Why the difference?  I have no idea.  But I like to think it's because us Minnesotans like to stand out a little.  Or maybe we're just weird.  Either one is fine with me.  I accepted my weirdness quite some time ago :)

So what exactly does this game have to do with ANYTHING I might possibly talk about?  Enter a thrift store and a pair of brass duck bookends.

These duck bookends, to be exact.


Amazeballs, right?

When I saw them sitting on the shelf, I did a little mental happy dance.  That's a lie.  I think I actually did a little dance in the aisle.  But I'm about 60% sure no one saw me, so it's all good!

I grabbed the pair of them (a steal at 6 bucks for both!) and hightailed it out of there with my precious finds in hand.

My first task was to figure out if they were actually brass or just brass-plated.  That would determine how I cleaned them.  It's easy enough to figure out...if you put a magnet near pure brass, it won't stick. If you put it near plated brass, it would stick to the metal behind the brass.

In my case...magnet didn't stick, so I'm pretty sure they're pure brass! Whoop Whoop!

I looked up how to clean brass, and settled on following Bob Vila's tips on cleaning brass.  As an avid public television watcher in my early years, I grew up with Mr. Vila so I trust his tips to not lead me astray.

I started with just hot, soapy water and a toothbrush like the website recommends.  You don't want to move on to the more heavy-duty cleaners until you know the simple ones don't work.


It didn't really change anything.


They were still kind of dirty looking and not very shiny.  So on to the next idea I went!  This one required making a paste out of vinegar, flour and salt.


This was the point where Mr. B looked at me and was like "So, what EXACTLY are you doing with those ducks?" 

Yeah, it looked a little crazy.  And unfortunately it didn't really get me the result I wanted either.  The ducks are still looking dirty and tarnished.  Boo.  Because how amazing would they look on my bookcases!?!?! Pretty darn amazing, I think.

Any suggestions on other ways to clean them?  I'm kinda stumped.  Comment below and let me know!  In the mean time, I'll be googling "tarnished brass ducks" and likely concocting other mysterious pastes to clean these guys up!


Linking up @:


Curb Appeal - Round 1

The weather in Minnesota these past few days has been just GORGEOUS!  You can feel the distinct "crisp" of almost-fall in the air and I'm totally diggin it.  Fall is my favorite season - boots! jeans! sweaters! crunching through leaves on walks!  What's not to like!?!?

Having some beautiful days over the weekend inspired me to finally give our front entrance the first parts of a multi-step facelift.  And boy was it needed.

Sunday morning found me sitting on the front steps in grungy clothes, happily painting away while watching old episodes of Grey's Anatomy on my iPad.  Quite the picture, huh?  I'm nothing if not a classy DIY girl.

By adding a few plants, some new house numbers and those fresh coats of paint, I made a couple solid steps toward a much more "Welcome to our house that we're working on fixing up bit-by-bit!" feeling for the front entry (instead of the "whatever, come in if you want" feeling it gave before...)

Here's a before....


(and, per the usual, Fitzgerald didn't want to be forgotten about)

Whoof!  It was a MESS.  The paint on the steps was chipping like a week-old manicure and that railing just wasn't helping the situation either.  I decided to paint the railing black to tie in with the new dark house numbers and the hardware on the door.  The stairs just got a fresh coat of grey paint that we found in the basement from the old owners.


And now....an after!


I smile when I drive up to the house now!  The railing pops in front of the house and it ties together the house numbers and hardware too.  Fresh grey steps make it look like people actually care about the house you're driving up to.  And a few plants don't hurt either!

Next up in the process is replacing or redoing the light fixture and painting the front door a different color (teal? navy? orange? I can't decide!) I'd also like to build a plant holder to take the job of that tall metal one in the picture...I happened to hide the fact that it's actually a stand that is supposed to be pushed into the ground.  Thinking maybe I can use some scrap wood to build a frame around the stand?  We'll see :)

Now on to a tiny little DIY project...

Over Labor Day weekend I made the wood board with the new house numbers on it. You may have seen the little glimpse on instagram!  Here's the process of how I did it:

The first step in the process was to choose a stain color for the backer board for the numbers.


My go-to stain for a lot of projects is Varathane Kona.  It's rich without being too red or orange toned, so it usually matches my style.  In this case, I wanted the boards to be a little lighter so the house numbers would stand out.  That brought me to one of my other favorite new stain colors, Varathane Sunbleached.  It's great for when you want a weathered look that isn't dark.

Neither Sunbleached or Kona were quite right for the project, so I decided to do a little mixing and create a color of my own.  I used about a 1/4 cup of Sunbleached and just a teaspoon of the Kona to get the color I was looking for.

After measuring and cutting down my scrap wood, I was ready to stain!  After 3 coats of my special mixture, the wood pieces were looking exactly how I had imagined them.


And holding one up to the house confirmed the color was right!


Once the boards were dry, I glued them together with some liquid nails.  Since they weren't going to be holding up too much weight or moved constantly, screws or nails weren't necessary.  Plus, it kept me from having to run to the store to get some kind of really thin board to screw them too :)

I gave the completed, glued together boards a quick coat of Thompson's Water Seal to protect them from the elements, and then let the whole thing dry for a few hours.

Next was the numbers!

The new house numbers came from my number-one BFF, Home Depot.  I swear I spend WAY too much time there.  I could browse all day.


Anywho, the numbers had caught my eye a while back and I thought they would be the perfect modern-meets-homey touch to the front entrance.  They come with templates for installation and screws to put them in either floating or flush.  I chose to use neither of those tools because I am a rebel. So there. (and also, it wouldn't have worked with the way I wanted it to.)


Since the screws were too long for the boards and I didn't want to screw all the way into the house, I decided to just glue the numbers to the board.  The spacing was just eyeballed because I didn't feel like cutting out the stencils.  

After adding 2 picture hooks to the back of the board and popping a couple nails in the house, the new numbers were up!  And I am totally in love with them.

I'll do an update post a few months down the road to let you know how the numbers are holding up and if I would do anything differently.  In the meantime, I'm going to enjoy looking at a spruced-up entry when I pull in the drive!


Linking up @:


A Blank Slate


We said goodbye to my little bro this week - he moved out of our house and into a house with my other 2 brothers and a friend.  I'm sad that he won't be around anymore - he's a great help with projects and reaching things in our tall kitchen cabinets :)  But he's  happy to have his own space again, and I'm happy for him too!

That being said, my permanent craft room is now empty and ready to be designed! First thing I want to decide is whether or not I'm going to paint it.  Right now it's a pale grey color.  Not bad, but maybe not the most inspiring color either.  Green is my favorite color but I've always been too nervous to paint a room green...maybe this is my chance! This one is at the top of my green paint list right now...


Since I have a lot more space to work with, I've been spending FAR too much time on Pinterest looking for ideas!  I've known from the beginning that I want to put a large desk in the middle of the room...so that will be my starting point! 

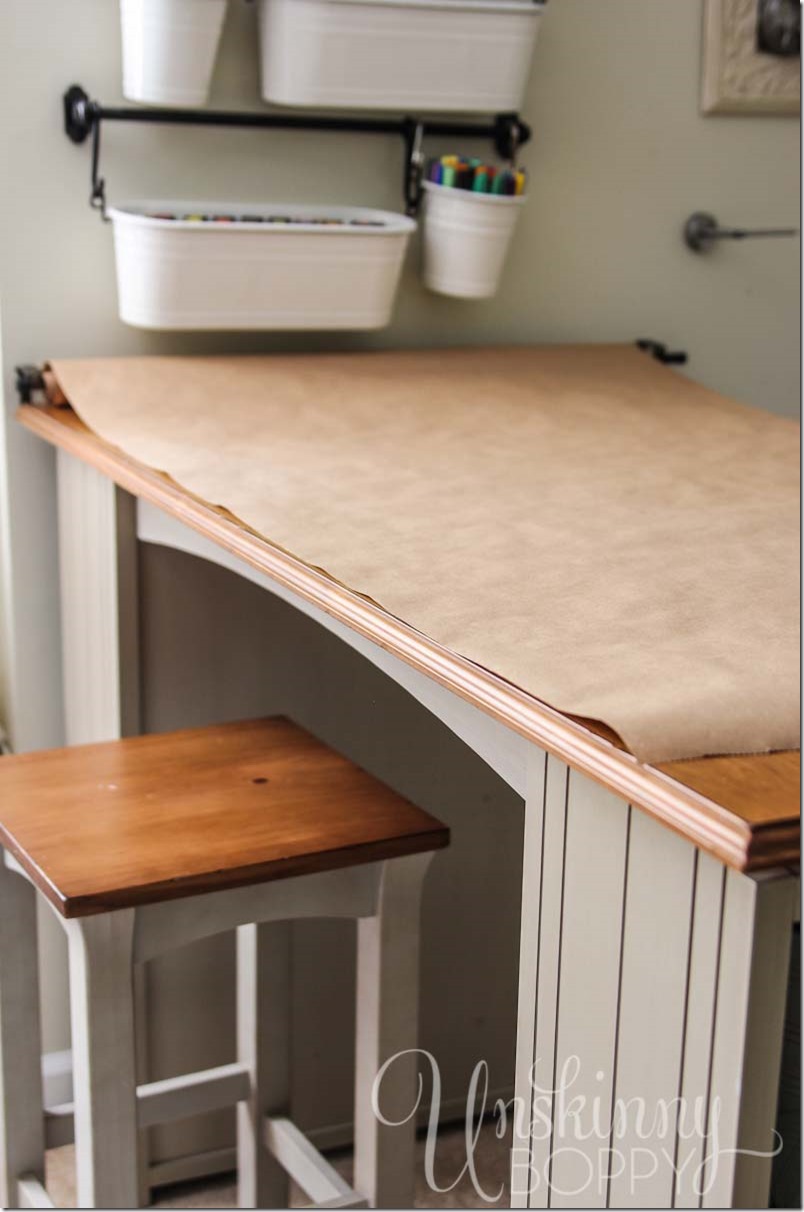
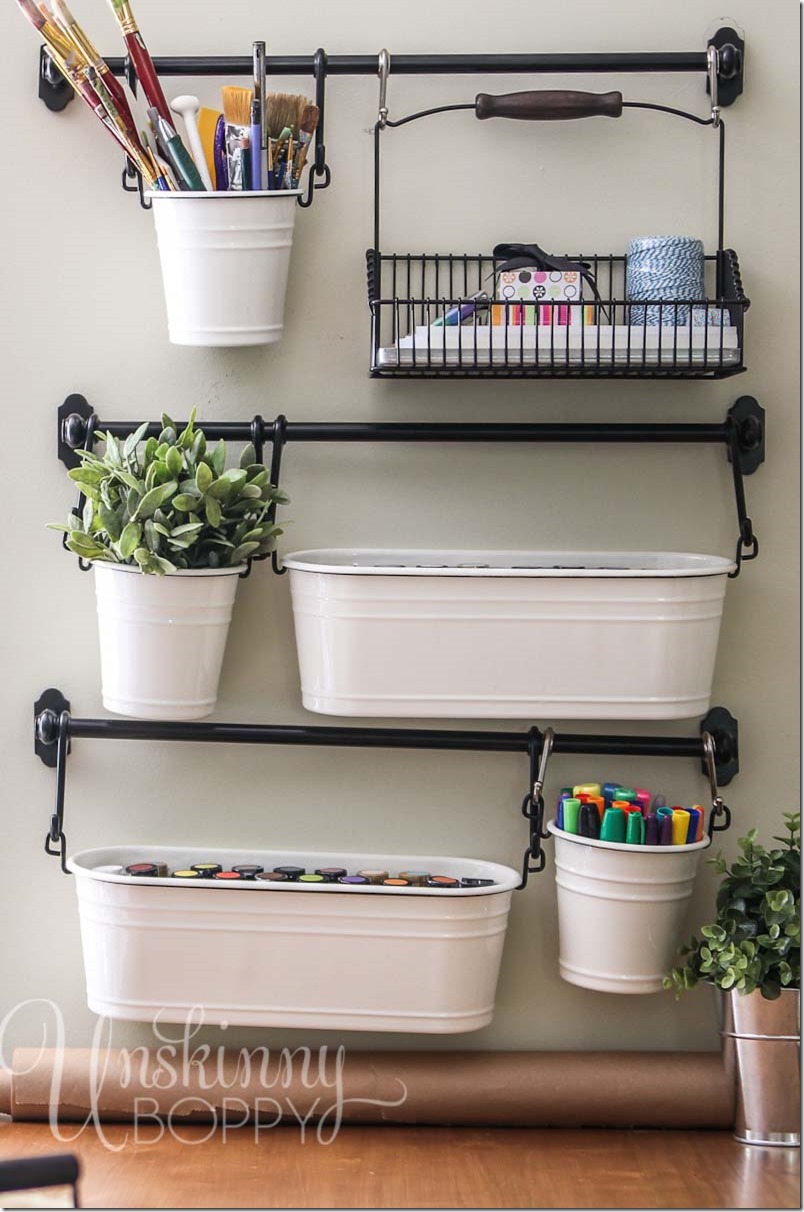
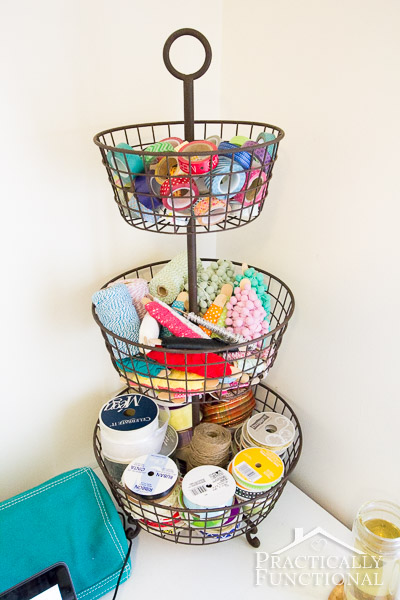
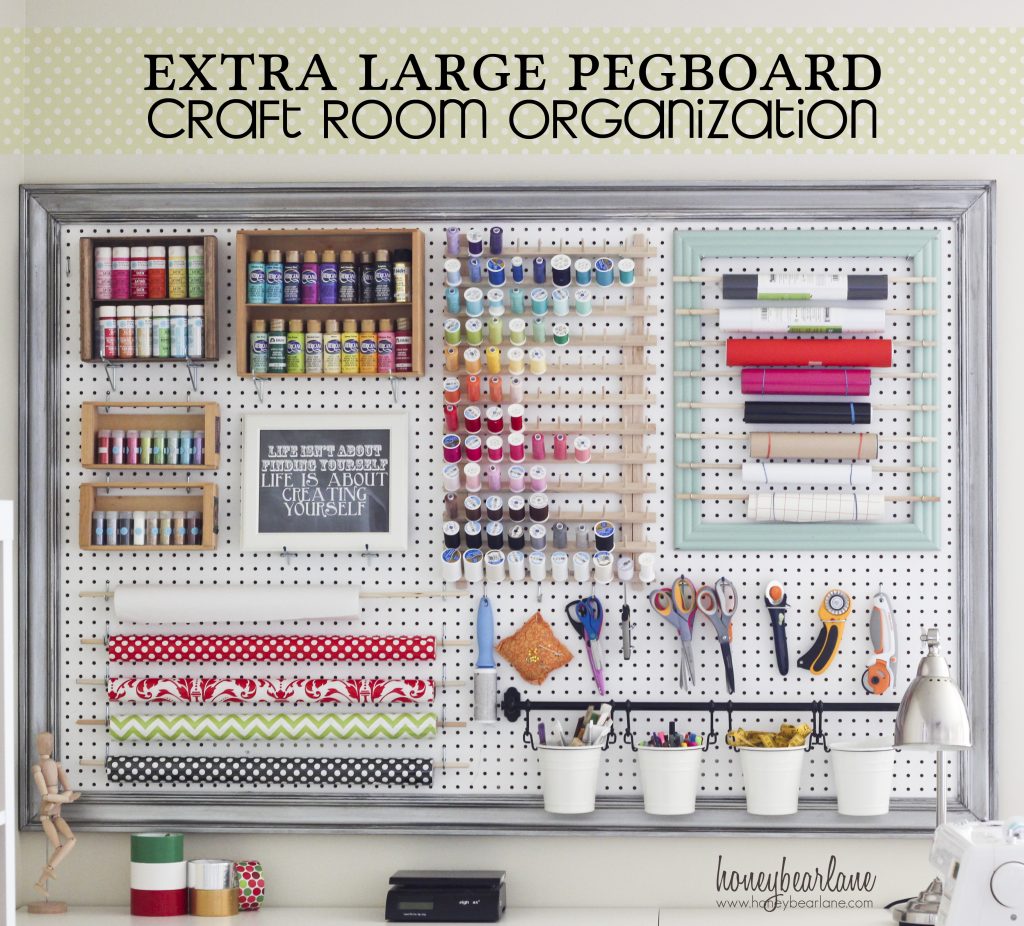
Below are some of my favorite picks for getting my new craft space up and running - I'll keep the words to a minimum and let the pictures speak for themselves this time!  


(I know this is a kitchen, but I love the white shelves with gold brackets!)


Ahhh! All these organization and decor ideas make me just giddy!!  

What do you think?  Have an idea that you've used in a craft/highly organized space that you want to share?  Please do! Comment below - I'd love to hear your thoughts!

Project Update: Stencil Madness

How's about a stencil update?  Yeah? Ok, let's go!

Prepare yourself - if you think you're going to see a completed room with furniture rearranged and all mess put away, this is not the post for you.  You'll want to wait for the post I eventually title "FINALLY DONE WITH STENCILING - WOOHOOOO!"  Or something to that effect.

If you're still interested in the progress, then you can keep on reading :)

Since I have yet to track down my good camera, you'll have to put up with my grainy cell phone pictures...but it will give the same effect!


The little wall is done!! Yay yay yay!!!!!!  (Pause for mini victory dance)

The little wall is what you see when you walk right into the room. I love seeing it when I turn the corner into the hallway.

And now, for the larger wall.....


*Pow*Pow*Pow*  *WHA-BAM!*   (that's for you, Mr. B!)

Not done.  But the main large section is! I just have to do the top and bottom and the far left side, and I'll be like 2/3 of the way done!

I told you that it would take a while.

But it's ok!  Life got in the way - and that's the way it should be!! Weddings and friends and enjoying the sunshine is far more important than a wall being done.  No rush!

Ok, quick segue.  Ya'll need to keep me honest though.  It's ok that it's not done now, but if you happen to mention it to me in another month and I haven't made any progress, sit me down for an intervention and whip me into shape.  I give you permission.  Segue done.

So, that's where painting is at.  Once I'm all done with the actual stenciling, I'll have some touch ups to do.  Those are good to save for rainy days though :)

At least, that's what I tell myself.

Thanks for reading!

$0 to Refresh & Reorganize!

Late last week, something happened.

I got the bug. (If you ask Mr. B, he'd probably tell you this happens about once a week, but I digress!)

For a while, I've been meaning to do something about the side table situation in our bedroom.  More specifically, the mess that was the area next to my side of the bed.  It's one of those things that bothered me every time I went to get in bed but by the time I saw it, it was time to actually sleep and not redecorate!

Last Thursday I had some time when I got home from work, so I took advantage and finally did something about the mess!  Mr. B and I are also trying to watch our spending right now, so I knew I would need to do it without spending any money.

Here's what I was working with:


Yep, it was quite something.  I won't feel bad if you cringe a little.

The first step was to get rid of the mess.  Which, of course, just means moving the stacks of random items to a different location.  Temporarily. I mean, I totally, definitely picked up every single thing I moved out of the way when I was working on this.  Hey look, a cute picture of a puppy in the room!


(Ok, good...dodged that bullet!)

Back to the work at hand.

So, once the space was cleared, I decided that I needed to house-source a different side table.  I ended up going with one that I had used for a night table in our condo, but had in the living room at our house.


The size of the table was perfect, and it definitely had more storage capability that I was looking for!  But oh, that lamp.  

So, I decided to house-source that too!  A few weeks back I found an awesome gold lamp on one of my Goodwill visits.  It's geometric, nice and big, and, did I mention....gold?!?  I had to try it out.


And though it is beautiful and pretty much my soulmate-in-a-lamp, it wasn't quite right.  It was actually a little too big for the table, and it didn't go with the lamp on Mr. B's side table.

Back to the lamp drawing board.  My other thought was a lamp that was in our living room.  It has a white base and a white and yellow patterned shade.  

I tried it out on my newly chosen side table, and it was a winner!


So then I decided to try adding a lamp with the same shade to Mr. B's side of the bed.


And it was perfect!  Even though the bases on the lamps don't match, the shades add the right color to the room and the bases are different enough that they don't clash.  I'm keeping my eye out on my thrifting trips for another brass lamp base for my side of the bed, but for now it is definitely an upgrade from the old, mismatched lamps that we had before!

The last thing I needed to do was ORGANIZE!  All of that stuff piled up on the bed needed to be gone through, purged, and placed in their new side table home.

And after a little work, here's what the top drawer of my side table looks like now:


I'm a fan of divided drawer organization...can you tell? LOL.  I've got 5 areas in this drawer:

1. Diabetes corner - all those things I might need in case my blood sugar goes low in the middle of the night
2. Miscellaneous stuff I find myself needing before bed - chapstick, glasses cleaner, etc
3. Health stuff - I like to keep things like tums and bacitracin next to my bed.  Don't ask me why, I just do.
4. Things I use every night - my vitamins, face wipes and moisturizer
5. Sleep Number bed remote - because otherwise it would get lost :)

One trick that I use to keep the little baskets in place in my drawers is using little velcro squares on the bottom of the basket and in the drawer


That way, the baskets stay in place and I can keep things organized without even trying!  When things come out and go back in, they automatically keep separated.  The velcro squares are easy to remove if I ever want to reorganize the drawer or use the basket for something else.

One of my other favorite organizational tools - Cord Clips!!


They are little half-round things with a slit down the middle that hold a cable in place when you're not using it.  I put two of them on the back of my nightstand to hold my phone and glucose monitor charging cables.  The picture only shows one, but I added another later that night!  I grab mine at the Container Store, but I have seen them other places too.  (I just like a reason to go to the Container Store)

Now everything had a home in my nightstand and there was zero clutter on the floor! So I did a little happy dance!

And here is a picture of what the room looks like with a bed that isn't covered on randomness and is actually made, along with the new lamps, table, and my favorite DIY project to date, my wooden display hanging!